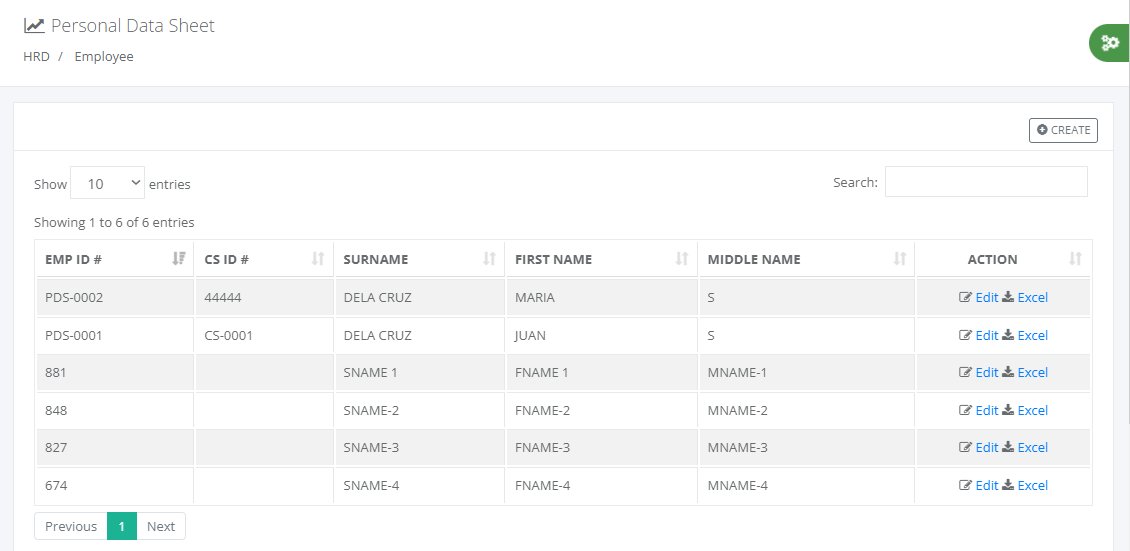
PDS Main Screen
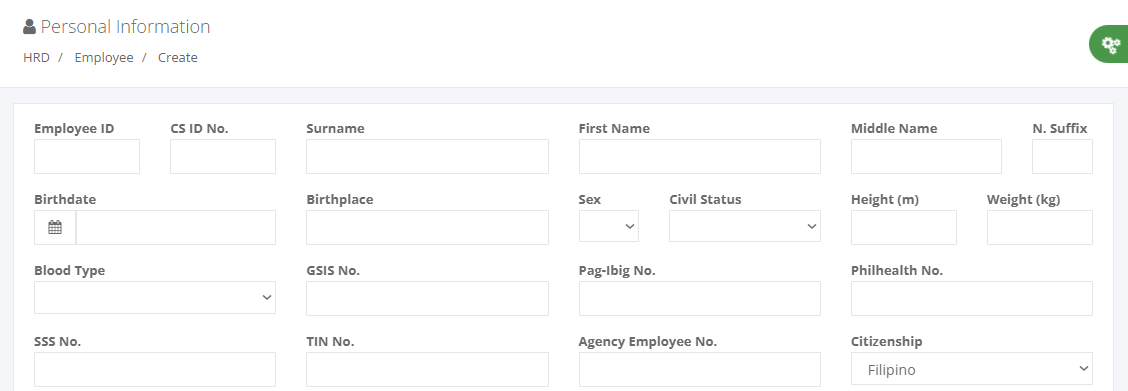
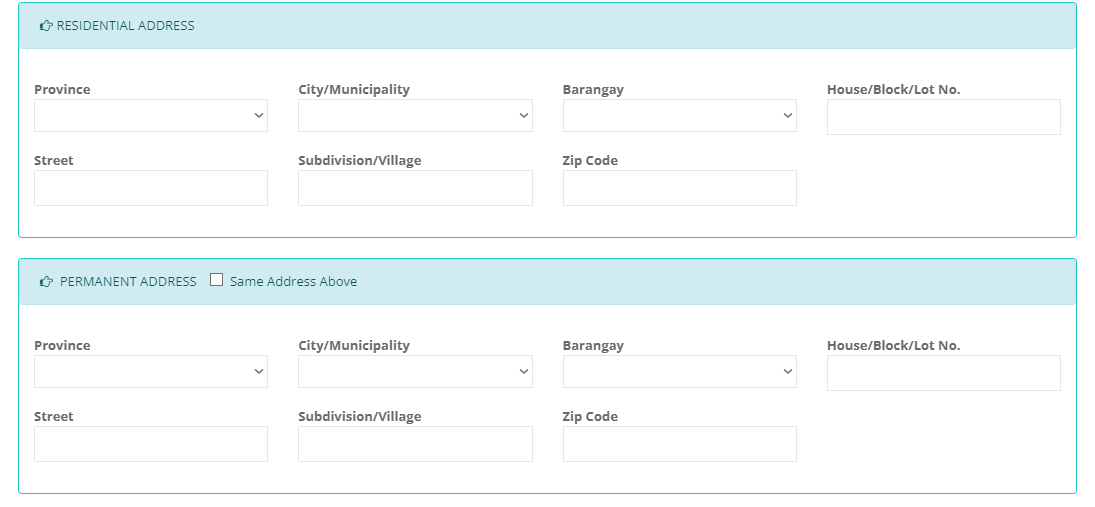
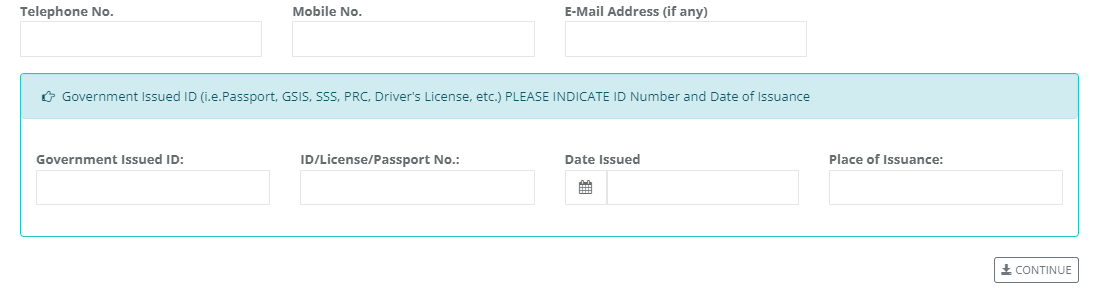
Personal Information
CREATE: input the personal information text box, then click the "CONTINUE" button to save automatically and go next entry form. The system prompts a message, indicating those fields that are required to input data before saving and proceeding to the next entry form. (see screenshot below)
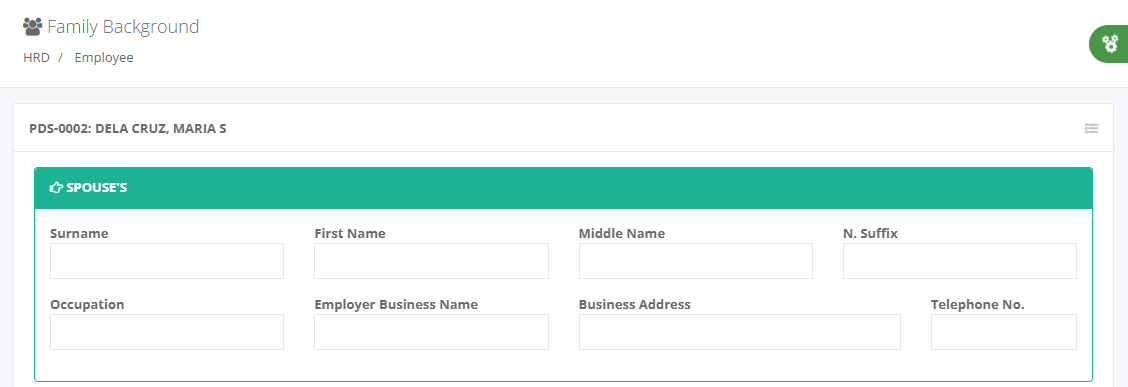
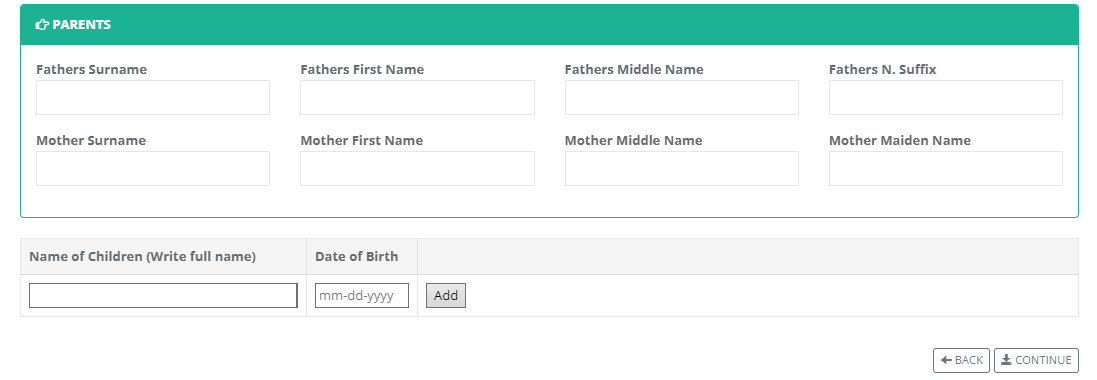
Family Background
Input family background, then click the "CONTINUE" button to save automatically and go to next entry form. Note: click the icon list visible on the right side of the title to pop up the selection menu for the PDS category form. (see screenshot below)
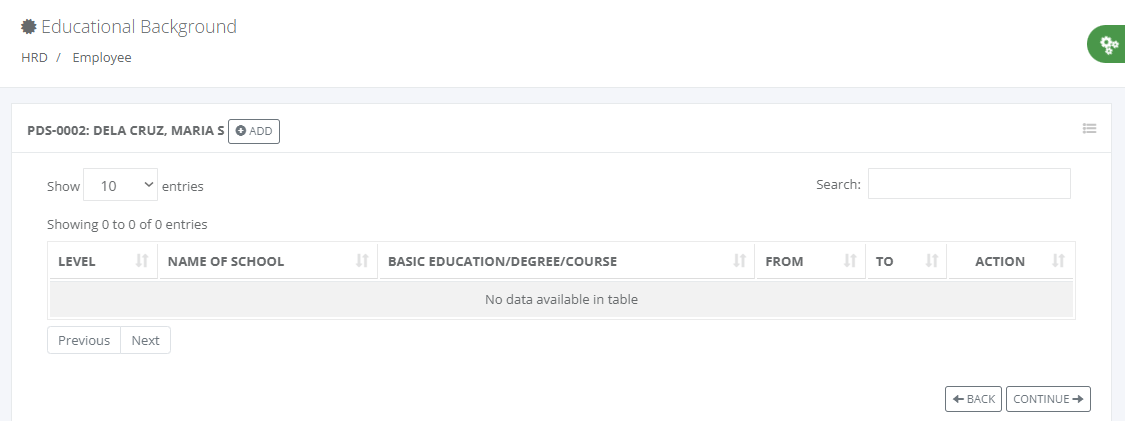
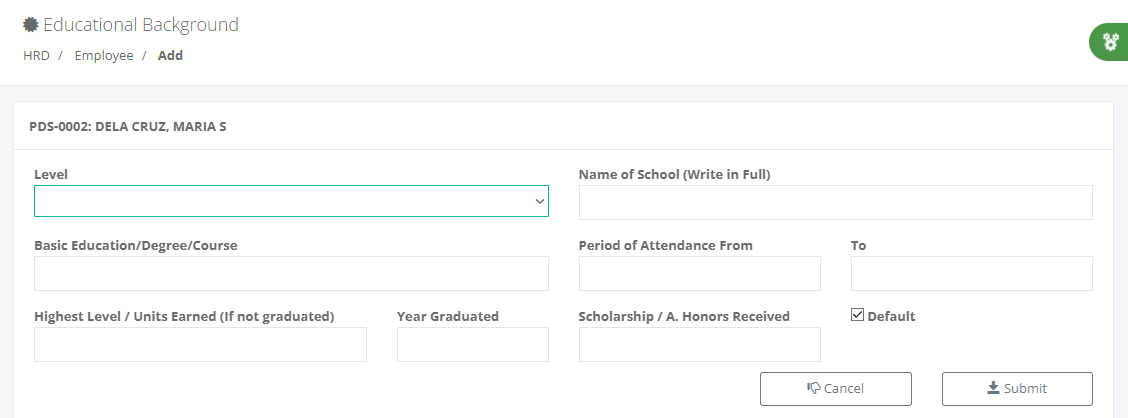
Educational Background
Click "ADD" button to create an educational background and fill-up the entry field. The label dropdown list contains Elementary, Secondary, Vocational/Trade Course, College and Graduate Studies. For those levels with multiple entries, the first choice to be shown in PDS excel output must tick the Default checkbox and the succeeding entry must uncheck the default checkbox for attachment output. After the input is done click the Submit button to save the entry or Cancel to ignore the entry and return to previous screen. (see screenshot below)
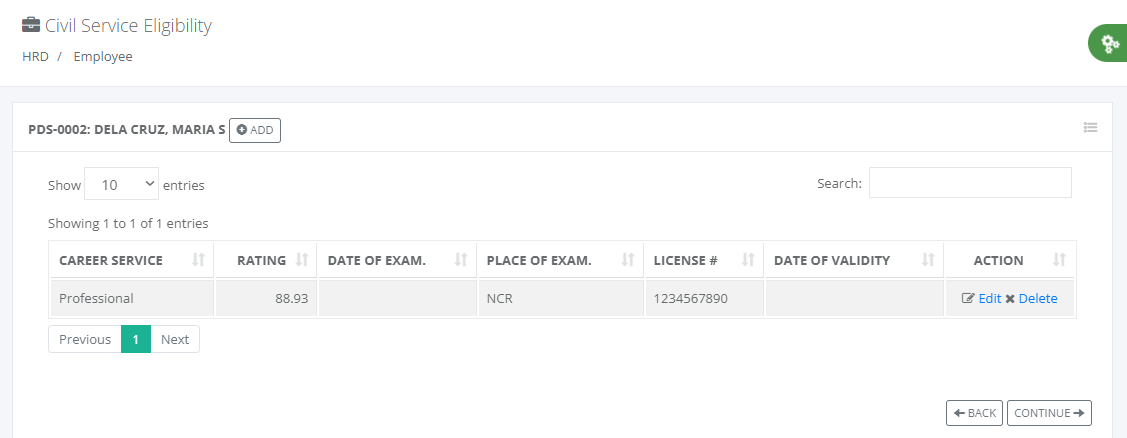
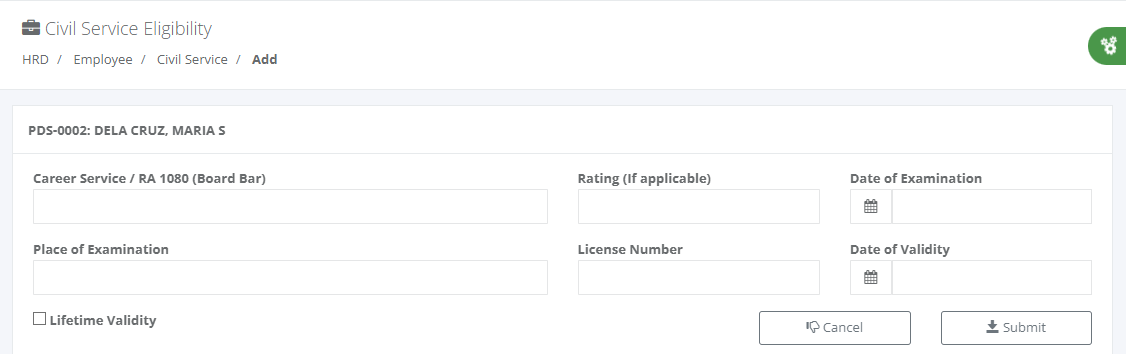
Civil Service Eligibility
Click "ADD" button to create a civil service eligibility and fill-up the entry field. After the input is done click the Submit button to save the entry or Cancel to ignore the entry and return to previous screen. (see screenshot below)
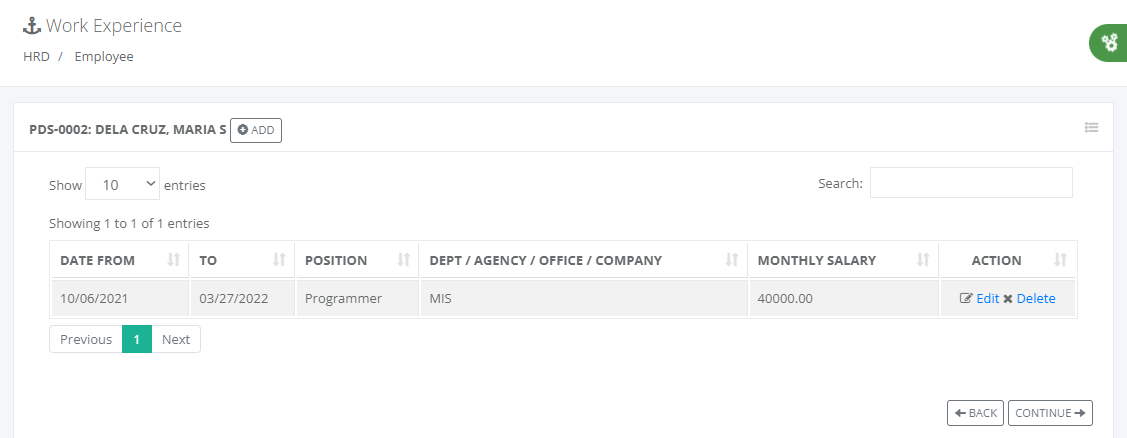
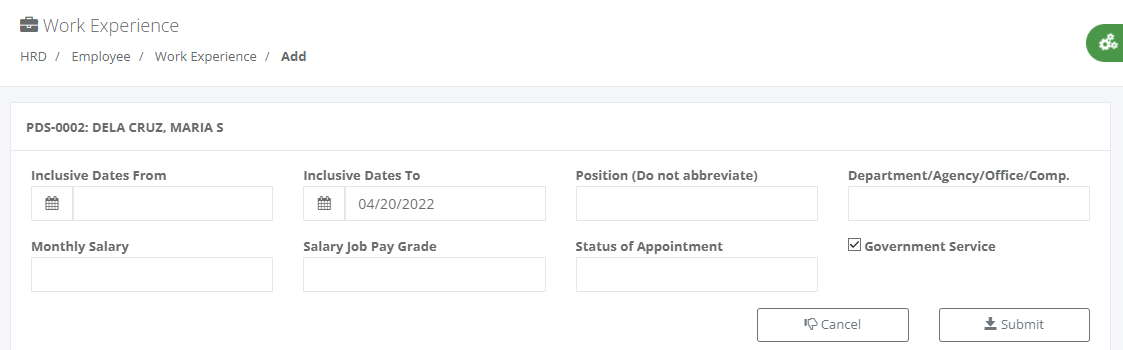
Work Experience
Click "ADD" button to create a work experience and fill-up the entry field. After the input is done click the Submit button to save the entry or Cancel to ignore the entry and return to previous screen. (see screenshot below)
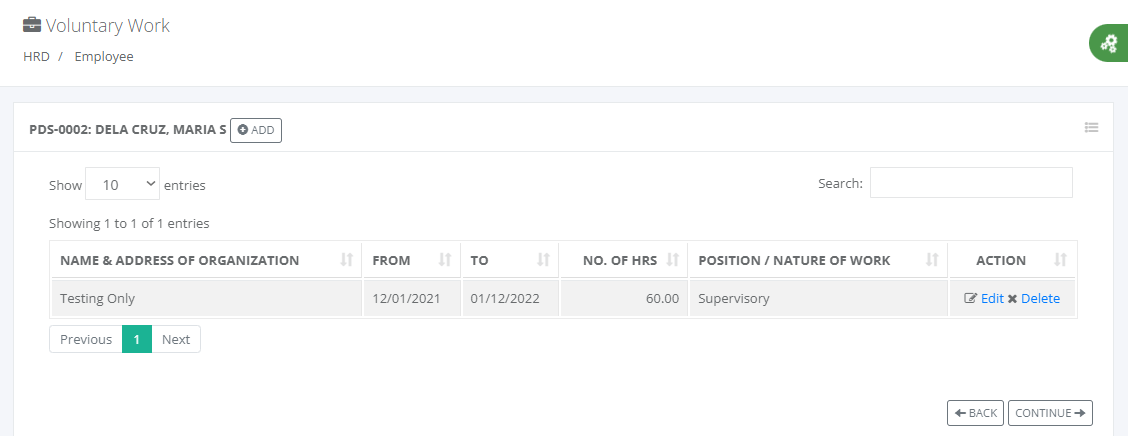
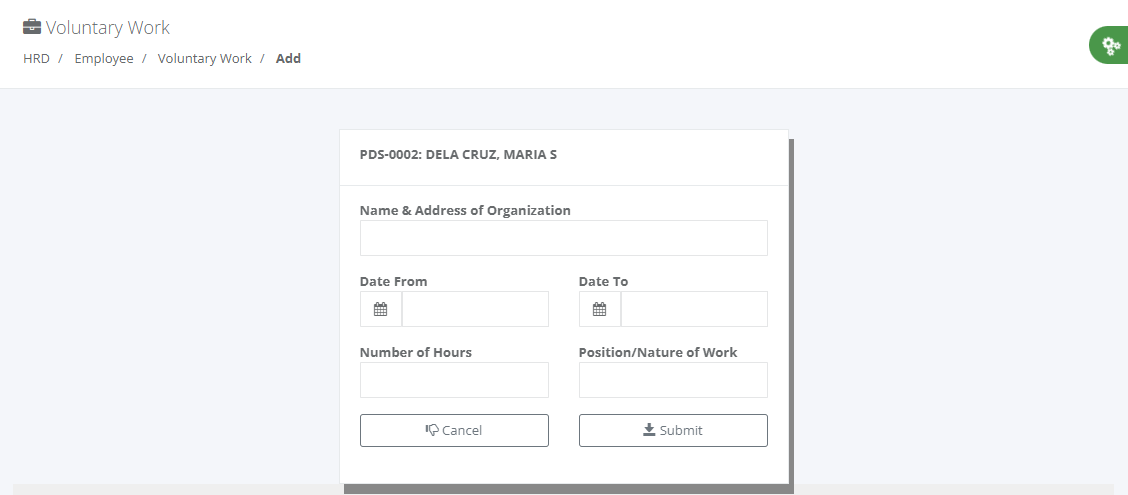
Voluntary Work
Click "ADD" button to create a voluntary work and fill-up the entry field. After the input is done click the Submit button to save the entry or Cancel to ignore the entry and return to previous screen. (see screenshot below)
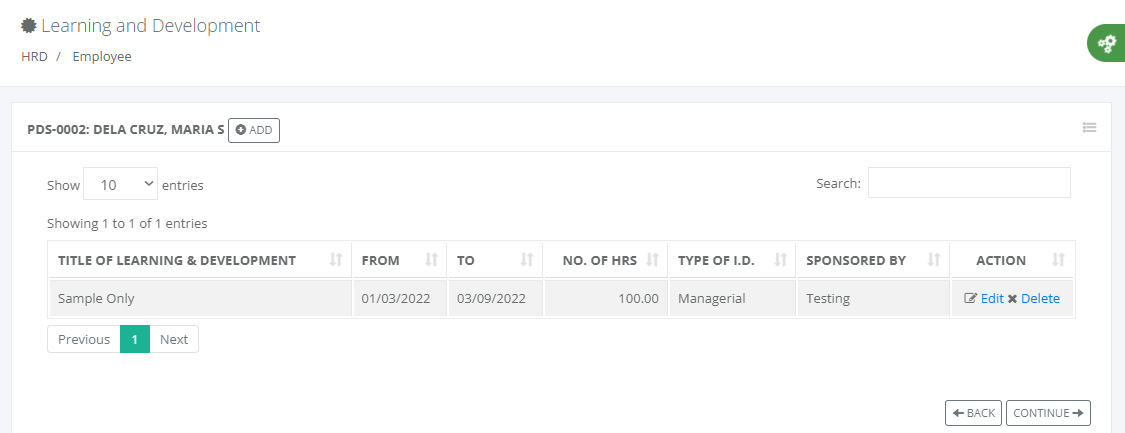
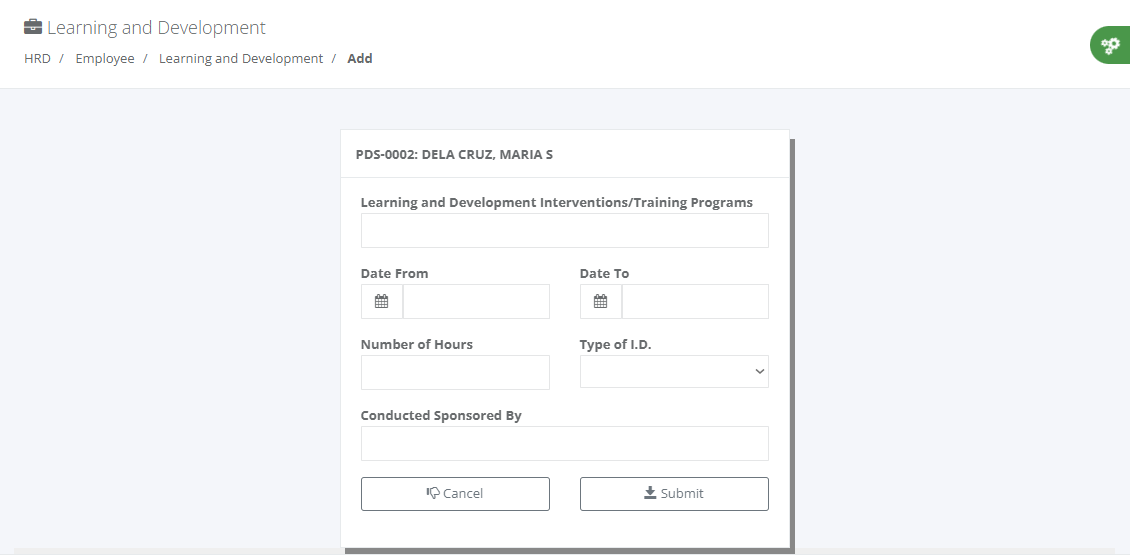
Learning and Development
Click "ADD" button to create a learning & development and fill-up the entry field. After the input is done click the Submit button to save the entry or Cancel to ignore the entry and return to previous screen. (see screenshot below)
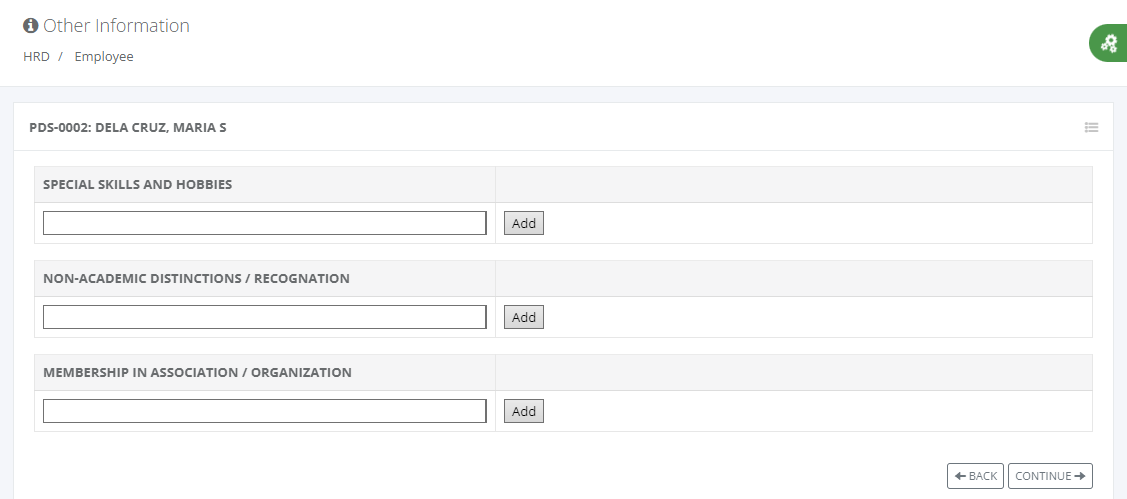
Other Information
Fill-up other information in the text box, then click Add button to save or Remove to delete entries. After the input is done click the CONTINUE button to move next entry form or BACK to the previous screen. (see screenshot below)
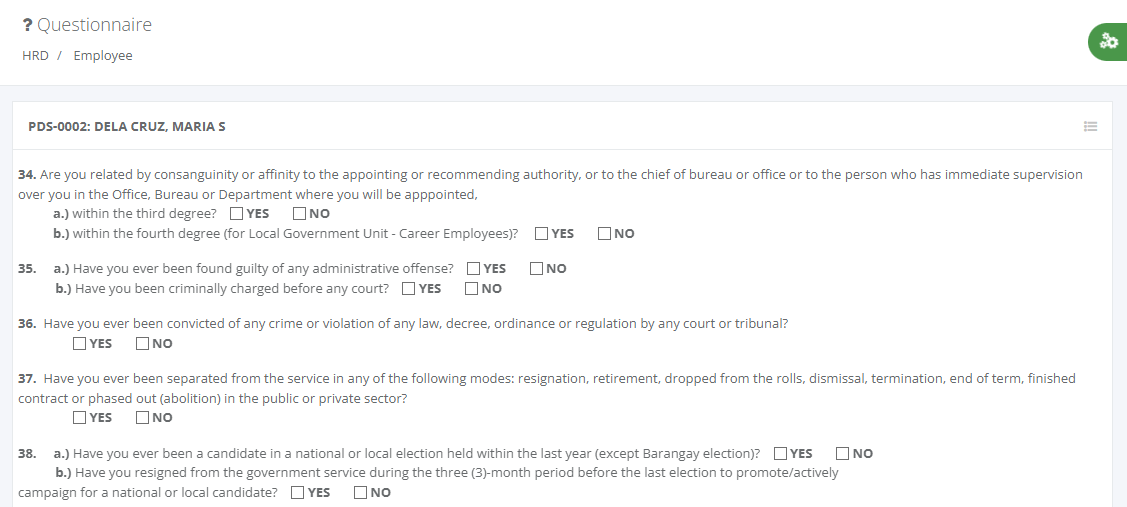
Questionnaire
Fill-up the questionnaire after the input is done; click the SAVE button to move next entry form, which is 201 Files. (see screenshot below)

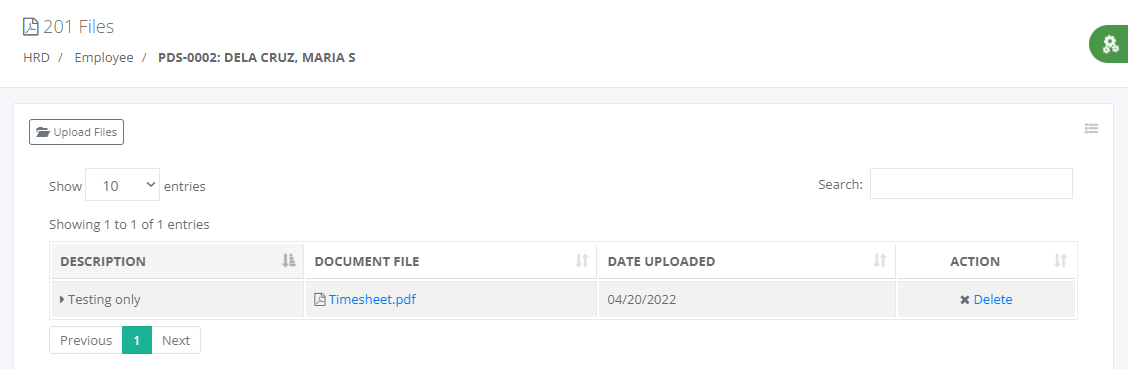
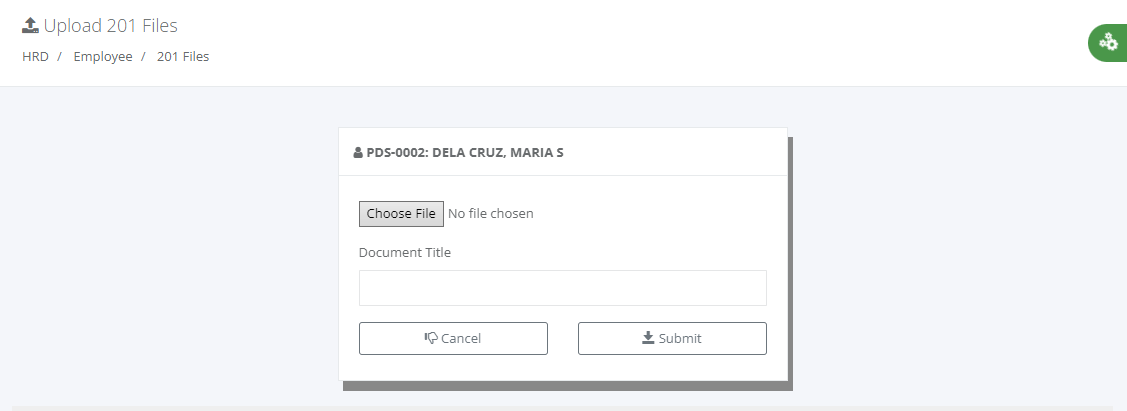
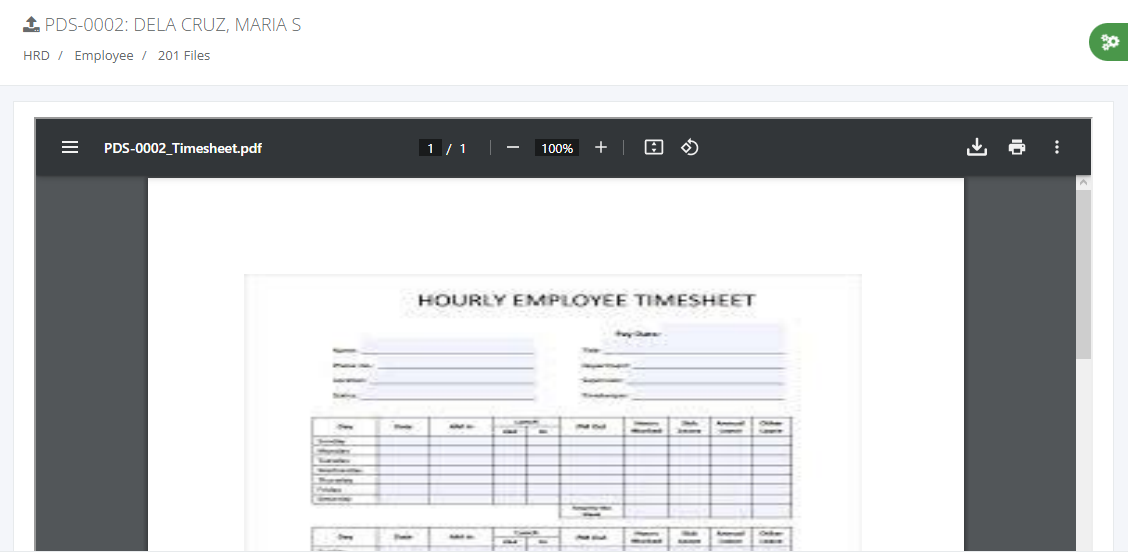
201 Files
Upload the employee 201 files in pdf format and make the title and description related to the documents. In 201 files main screen the document file row items click the document title with hyperlink to view the pdf document. (see screenshot below)
Payroll Setup
Payroll setup is critical to the timekeeping and payroll process. Employment status should be "Active" if the employee is currently active. Tick the checkbox if the employees are required for monthly remittances like wtax, sss, gsis, pagibig, or philhealth.
Note: Account Login -> input a valid email address to notify employees via email after you click the Update button that the system checked the email address, not existing in the database, automatically sends an encrypted token for verification if the email is valid. Or the email address is existing in the database but not yet verified; the system re-sends a token for verification. Verified email account has a role access "Employee" and the default password is "Test_#143@". Click the link "Forgot password?" in login screen to change password anytime you want. (see screenshot below)

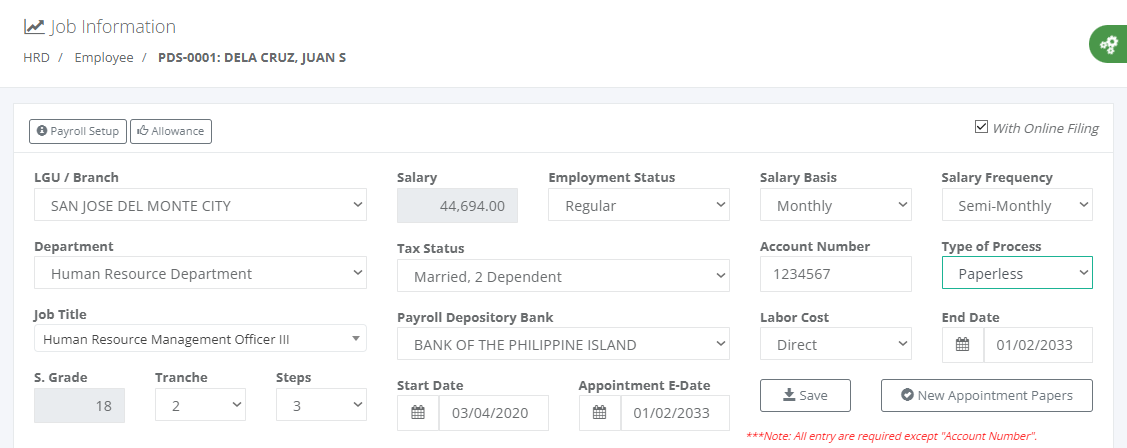
Job Information
Job information should be a 100% correct input by HR staff because this is the basis of payroll computation. All fields are required except account number. Employee type of process is "Paperless", all forms are online filing like leave, overtime, locator slip, temporary shift schedule, broken time, failure In/Out, vacation leave request credit etc., that required approval by head department. Employee type of process is "Manual" all forms are hardcopy; the process of timekeeping is manual filing available in Time and Attendance module process by the timekeeper. Those employee "With Online Filing" checkbox is checked will not appear in a dropdownlist selection in timekeeper manual filing to protect the individual online filing.
Click the New Appointment Paper button if the employee has a new appointment or salary increase.
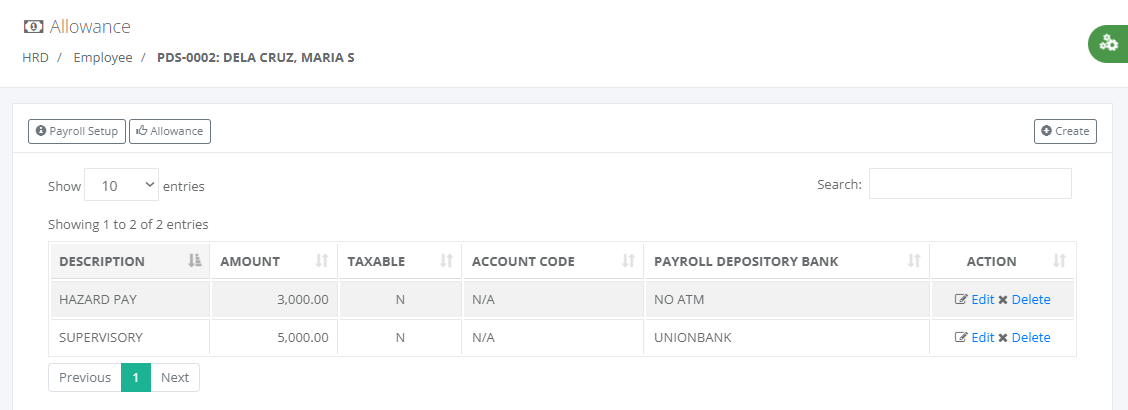
Allowance
Allowances are separately identified payments made to an employee to cover expenses while performing their job performance. This module can add different types of allowances that are automatically computed in every payroll processing. (see screenshot below)

Employee Main Screen
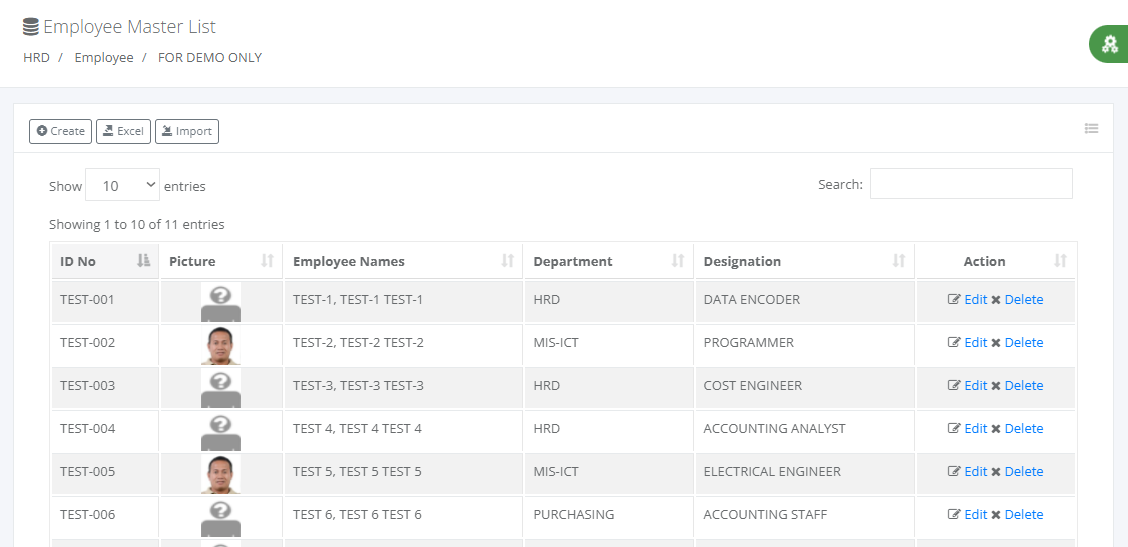
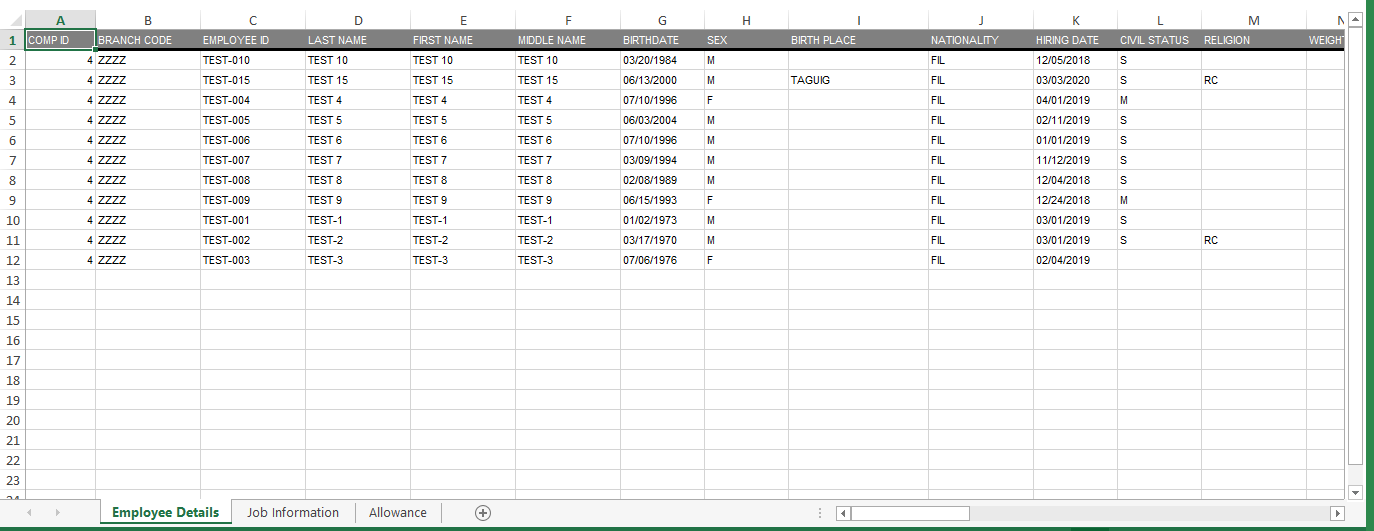
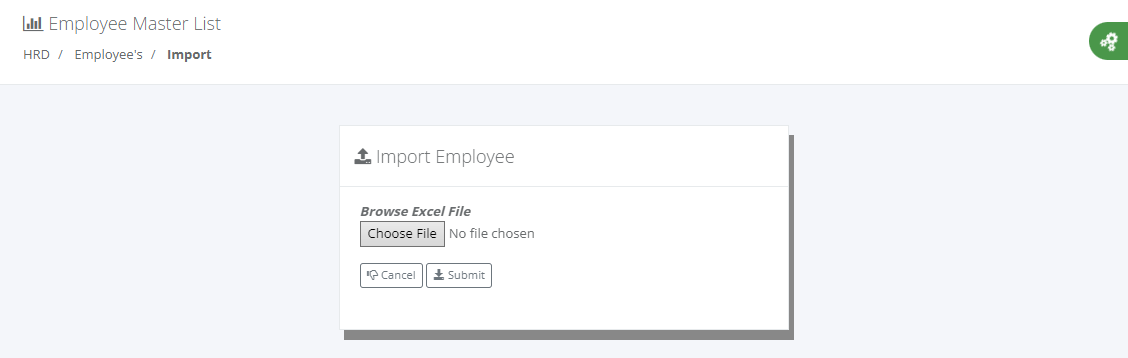
Employee export to excel and import excel file to the database
Note: Follow the excel format header and worksheet name; eliminate blank rows before row data upon uploading excel file. The system validates the data before saving it to the database and creates a log report to display after the processing is done.
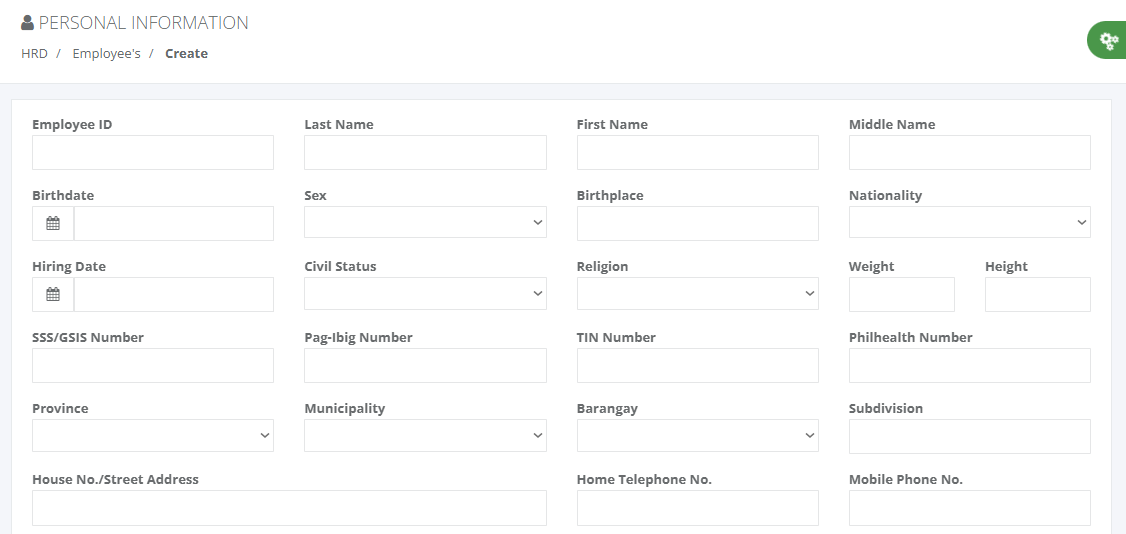
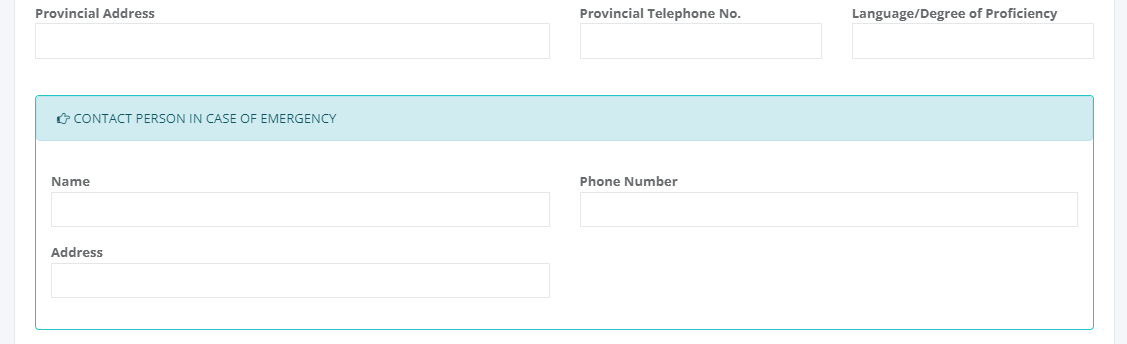
Personal Information
CREATE: input the personal information text box, then click the "Submit" button to save and go next entry form. The system prompts a message, indicating those fields that are required to input data before saving and proceeding to the next entry form.
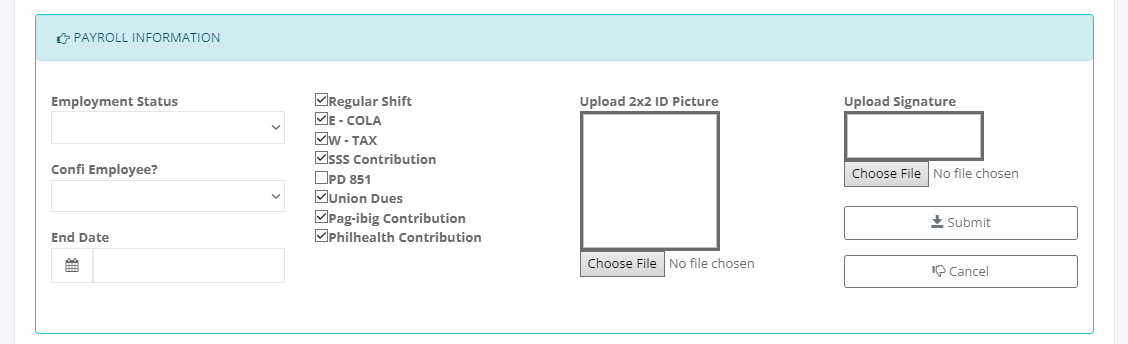
Payroll Information is critical to the timekeeping and payroll process. Employment status should be "Active" if the employee is currently active. Tick the checkbox if the employees are required for monthly remittances like wtax, sss, pagibig, or philhealth. (see screenshot below)
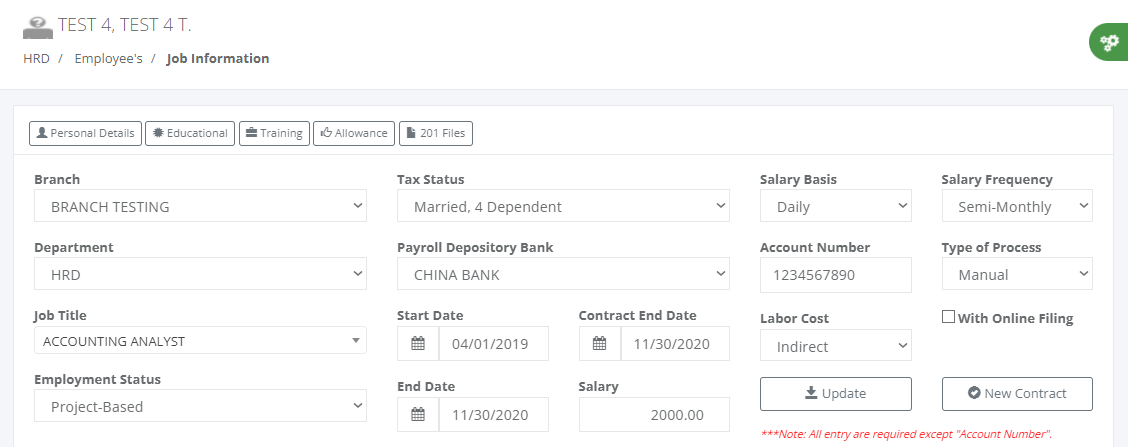
Job Information
Job information should be a 100% correct input by HR staff because this is the basis of payroll computation. All fields are required except account number. Employee type of process is "Paperless", all forms are online filing like leave, overtime, locator slip, temporary shift schedule, broken time, failure In/Out, vacation leave request credit etc., that required approval by head department. Employee type of process is "Manual" all forms are hardcopy; the process of timekeeping is manual filing available in Time and Attendance module process by the timekeeper. Those employee "With Online Filing" checkbox is checked will not appear in a dropdownlist selection in timekeeper manual filing to protect the individual online filing.
Click the New Contract button if the employee has a new contract or salary increase.
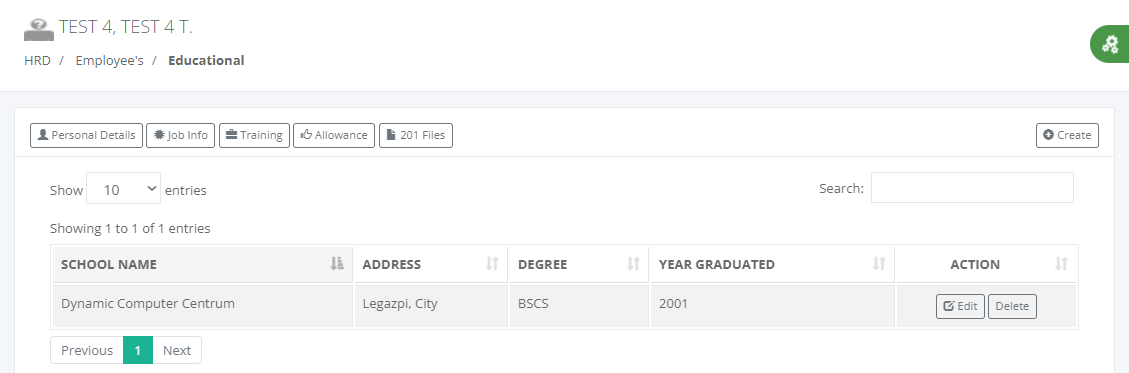
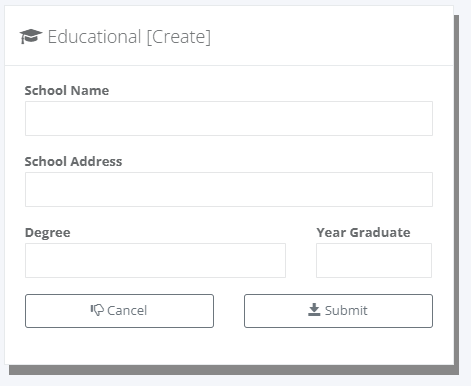
Educational
Click "Create" button to create a educational background and fill-up the entry field. After the input is done click the Submit button to save the entry or Cancel to ignore the entry and return to previous screen. (see screenshot below)
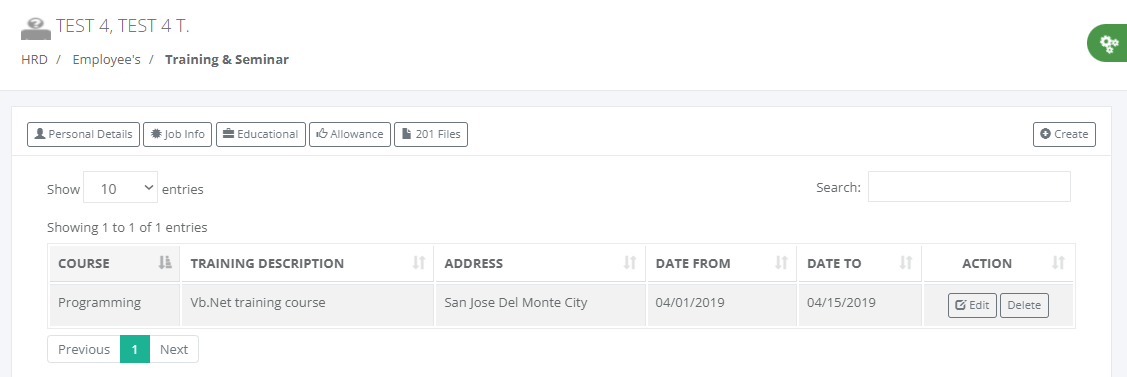
Training & Seminars
Click "Create" button to create a training & seminar and fill-up the entry field. After the input is done click the Submit button to save the entry or Cancel to ignore the entry and return to previous screen. (see screenshot below)
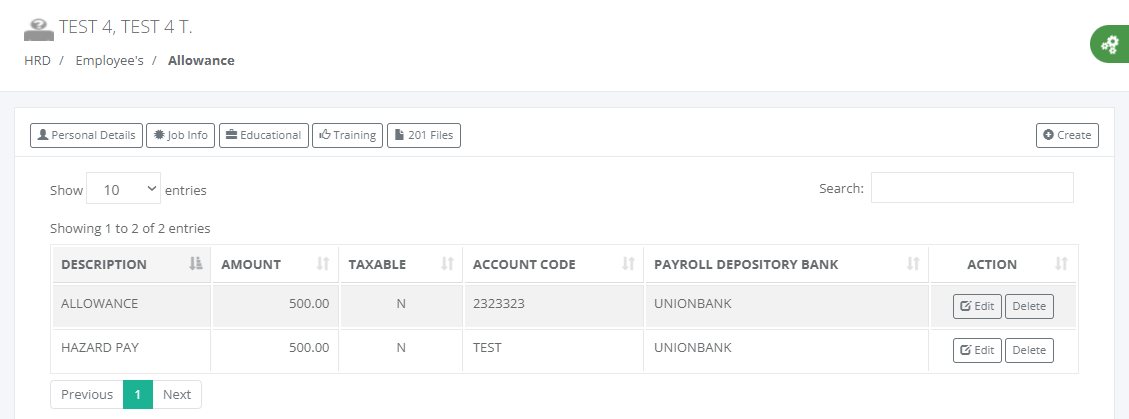
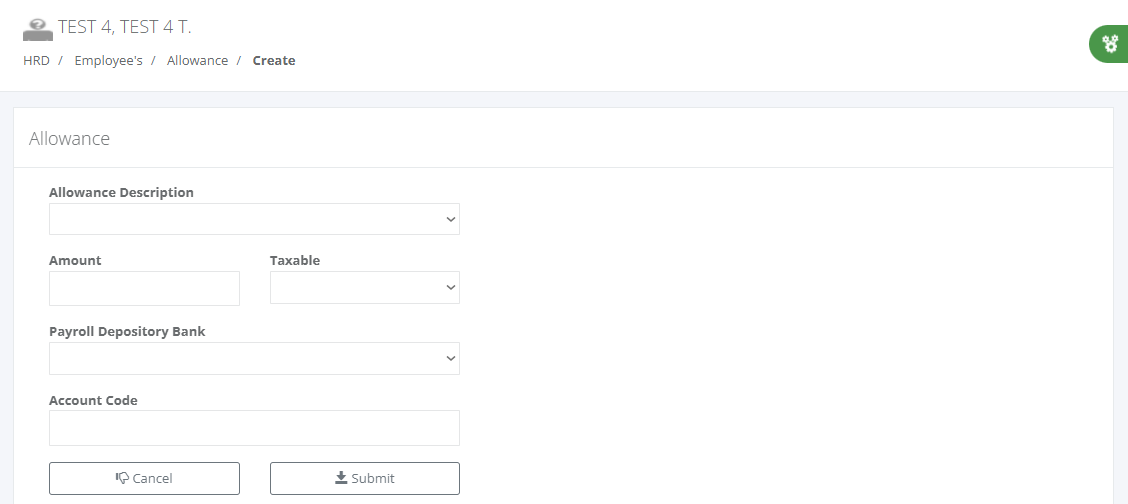
Allowance
Allowances are separately identified payments made to an employee to cover expenses while performing their job performance. This module can add different types of allowances that are automatically computed in every payroll processing. (see screenshot below)
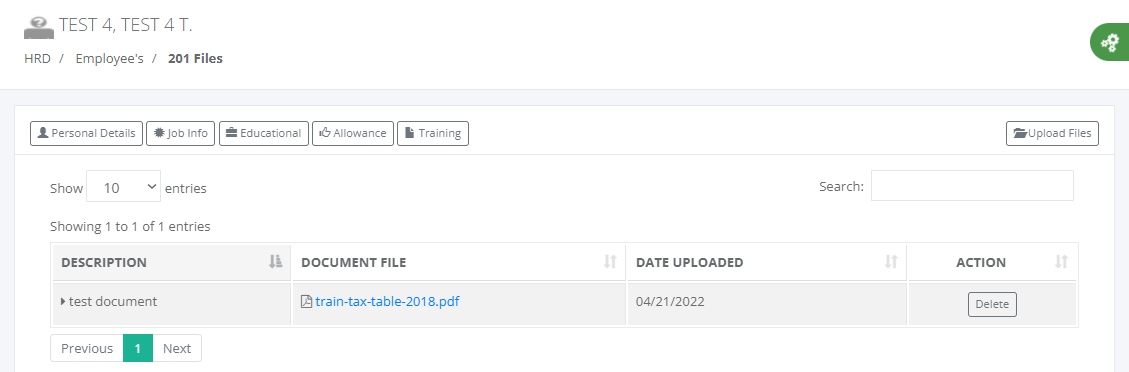
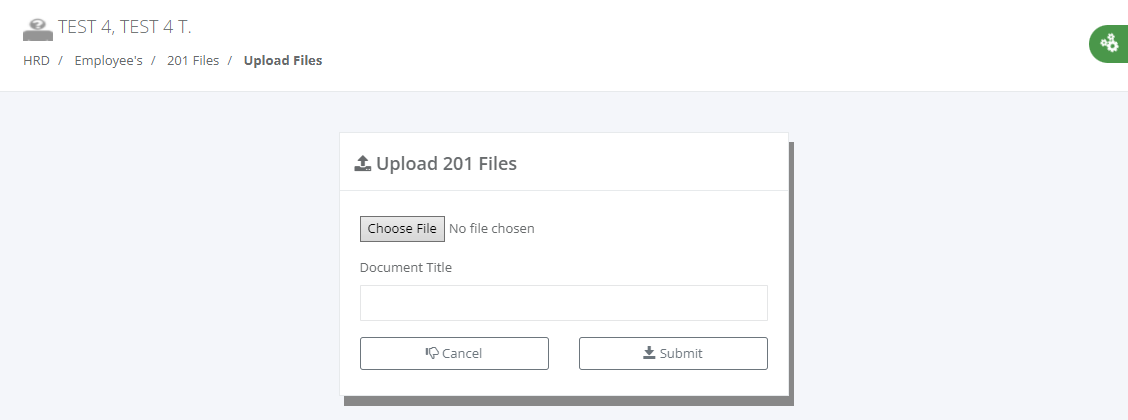
201 Files
Upload the employee 201 files in pdf format and make the title and description related to the documents. In 201 files main screen the document file row items click the document title with hyperlink to view the pdf document. (see screenshot below)
LATEST BLOG POST

HRIS: Payroll Process
The payroll process involves calculating and disbursing employee salaries, wages, and benefits on a regular basis. Stay updated with employment laws, tax regulations, and other relevant compliance requirements to ensure accurate payroll processing and avoid penalties or legal issues.

HRIS: Timekeeping Process
Implementing an effective timekeeping process helps ensure accurate payroll calculations, compliance with labor laws, and fair compensation for employees' work hours. It also provides valuable data for analyzing workforce productivity and resource allocation.

HRIS: Recruitment and Training
Recruitment and training should be ongoing processes to attract and retain top talent and ensure the team is equipped with the necessary skills and knowledge to meet organizational goals.

HRIS: Human Resources
Human resources (HR) is a crucial department within an organization that focuses on managing and developing the people who work for the company. The HR department is responsible for various functions related to employee recruitment, hiring, training, performance management, benefits administration, and employee relations.

Understanding the Basics of Payroll Processing
Payroll processing is the administrative task of calculating and distributing employee salaries and benefits. It involves several steps, including collecting and verifying employee time and attendance data, calculating wages and deductions, and generating paychecks or direct deposits.

DTR Timekeeping Tips: Do's and Don'ts
Employers must keep accurate records of non-exempt employees work hours to comply state and local laws. This straightforward process can become complex when employees start work early or leave late, travel for business, participate in company trainings, and use mobile devices to remain connected to work after-hours.

Employee Timekeeping: Tool to Improve Efficiency and Accuracy
Overall, implementing a reliable timekeeping tool can significantly improve efficiency and accuracy in employee time tracking. It streamlines processes, reduces errors, ensures compliance, and provides valuable data for decision-making.

Automate Loans Deduction using Payroll Setup
By following these steps, you can automate loan deductions using payroll setup, saving time and ensuring accuracy in loan repayments for your employees.

Transforming HR into Digital Through Technology
By embracing technology and digitizing HR processes, organizations can streamline operations, improve employee experience, and enable HR professionals to focus on strategic initiatives that drive business success.

Timekeeping and Attendance Setup
Specific setup and configuration of your timekeeping and attendance system will depend on the unique needs and requirements of your organization. It's important to adapt these steps to fit your specific circumstances and consult with HR professionals or software providers for guidance.
Tips how to start?
- Create an account.
- Verify the account via email sent by the system after registration is completed.
- Fill-up the form available in your dashboard account and wait for admin approval.
- After your account is approved the first step to do is create a department located at HRD -> Tools -> Department.
- Now ready to create employee master data located at HRD -> Employees.
- Steps How to Test and Explore HRIS and Payroll System.
- Explore the HR Payroll user guide manual as reference for self-testing.
Free Online Tools
- Mortgage Calculator
- Alphalist Conversion to BIR .Dat File Format
- BIR Alphalist .Dat File Conversion to ITR Form 2316
- BIR Relief Purchases Dat File Conversion
- BIR Relief Sales Dat File Conversion
- BIR Relief Importation Dat File Conversion
- SSS R3 File Generator Monthly Payment
- DTR Biometric Finger Scanner Time & Attendance System Free Download